Open Source Hardware
Class eight - 14 November 2017
Circular knitting
This week I began the assignment surfing the web extensively to document myself on all the different options out there and I was amazed by how circular knitting can make useful stuff in a fast and easy way. You have industrial machines that use metal needles, but you can also find household types, with larger needles made of plastic. I sourced a toy machine on Taobao for 12€ and two days delivery, so I could start messing around with it.
This is the machine I bought, it has 40 needles so it is not too small. It has a tension hook for the yarn and a switch to change from tube to plane mode. It comes with instructions in english and chinese to get an idea of how to set up and remove the yarn at the end, but I also whatched some youtube videos in order to understand better the basics of home knitting with plastic-needles machines.
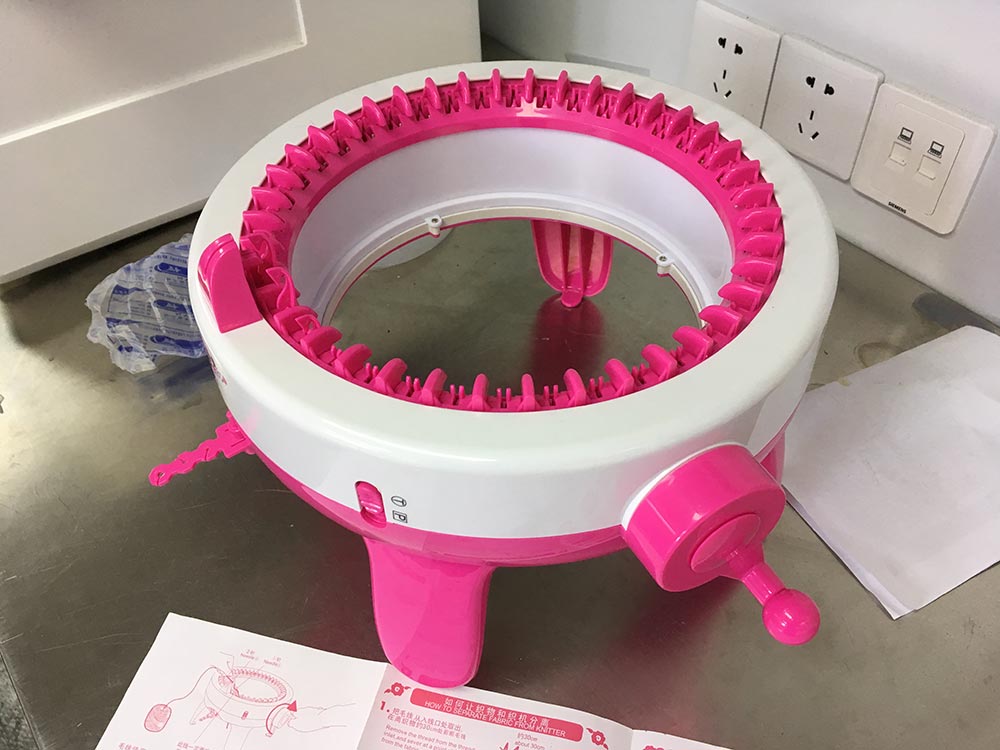
The machine assembled out of the box
I would like to point out the standard pink color as it is branded for girls... If I received it as a gift when I was a kid, I would have been super-happy despite the color of the packaging! Anyway, the structure looks pretty solid and simple, the crank turns easily and smoothly with a nice sound and it looked easy to disassemble... so that's exactly what I did next!
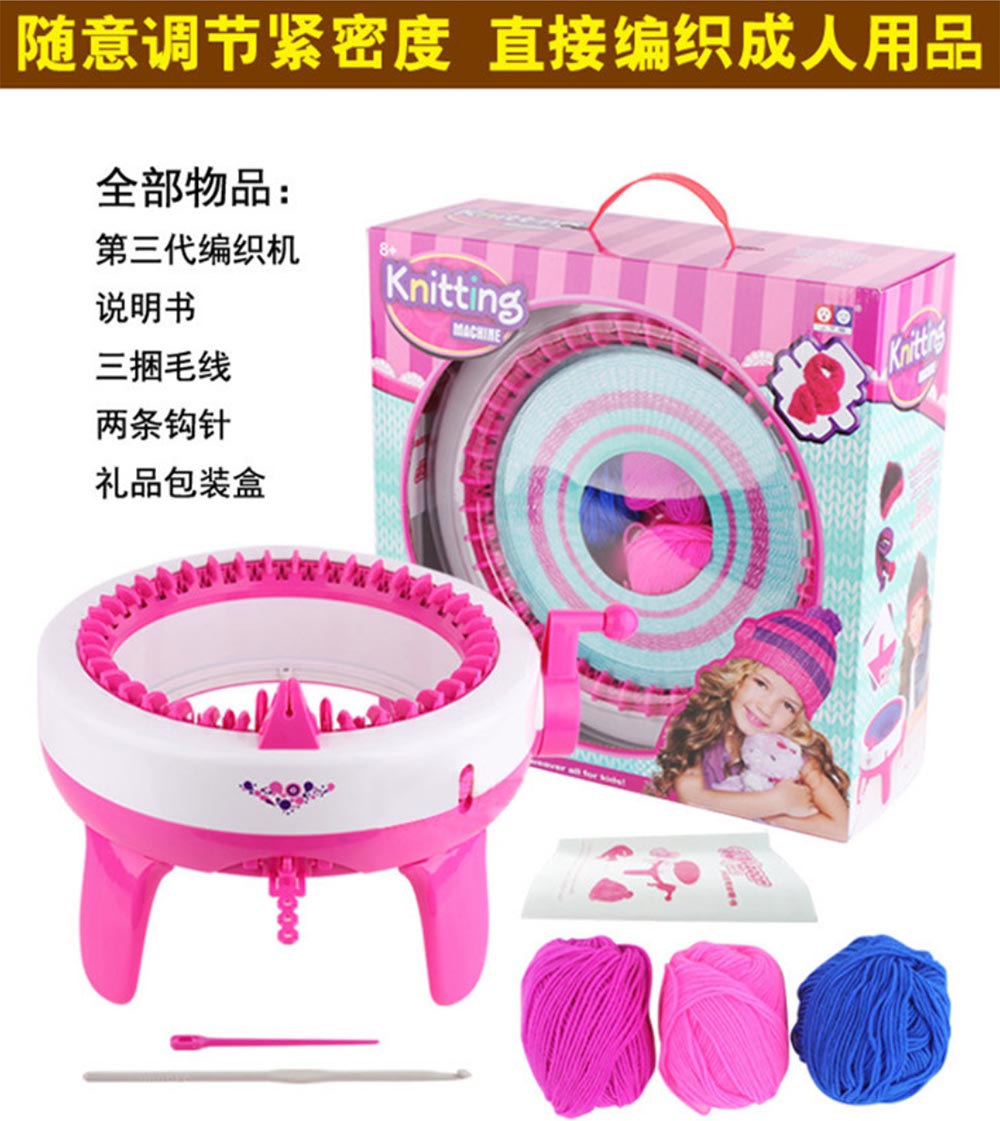
The advertising images clearly wants only girls to play with it... I DON'T THINK SO!

A little hat I made with one small spool of wool included in the machine, to understand how the machanism works. Winter is coming!
Disassembling
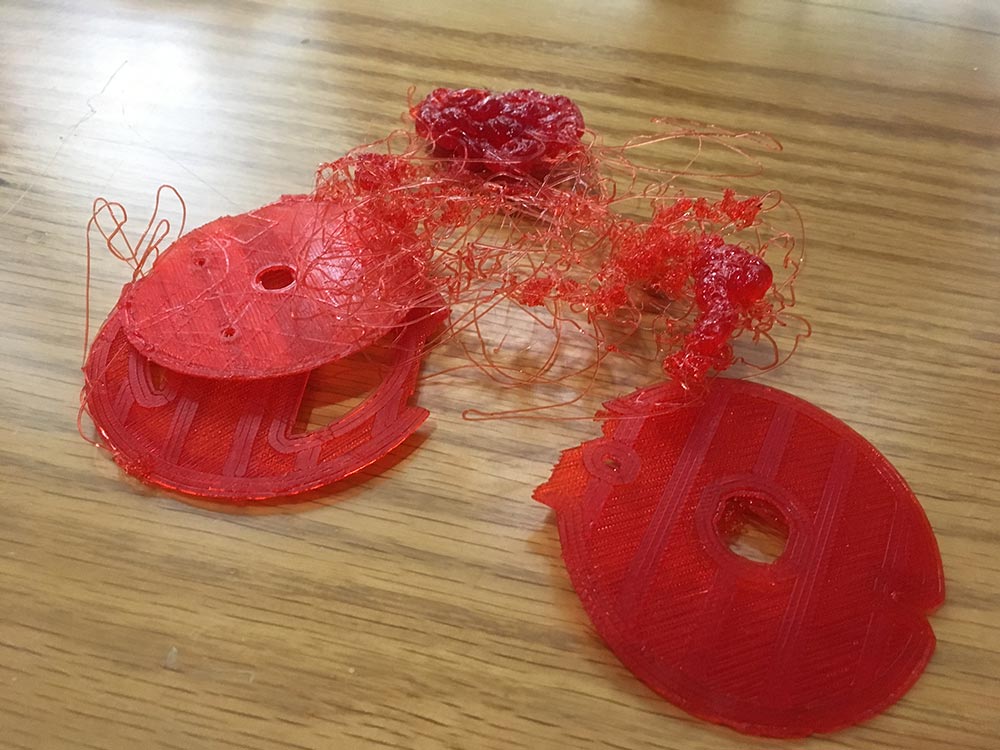
To hack this machine I first disassembled it, hoping it would have been simple... and it was. Only seven screws and it was open. I didn't need to dismantle it completely, even if I was very curious to do it, but for the sake of time saving and to refrain from making mistakes that would have made it hard to reassemble the needles assembly I just took out the main cover and tried to figure out how to proceed.
The crank was glued and screwed to the small bevel gear, so I had to remove it completely and make a copy of the gear and its shaft. Using a caliper to get the right measurements I redesigned it in Rhino3D. The shaft is designed to slip onto a common NEMA17 stepper motor. I figured a stepper motor would be the best option because it can be controlled easily with an Arduino, it has a good starting torque and I can use it to move the machine precisely, by setting in advance the loading position, the number of turns and so on. Eventually I could control the machine with an app.
I wanted to reduce invasive/destructive intervention on the machine to a minimum, so I designed a coupling ring that allows the motor to be plugged and removed easily. I only needed to cut two 3mm holes on one side of the machine body to be able to connect one part of the ring. The second ring is screwed to the stepper motor and it can slipped in. Additionally it can be secured in place with two side screws.
I only had time to make these modifications this week and I will work on the electronics in the coming days.
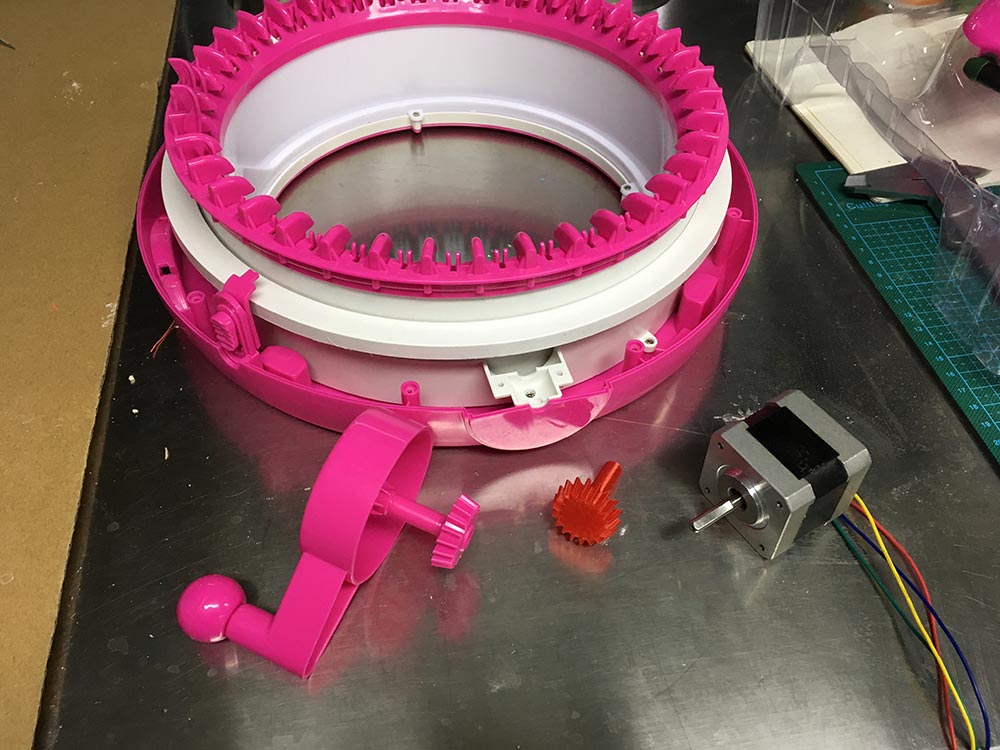
The machine disassembled

Printing the new bevel gear
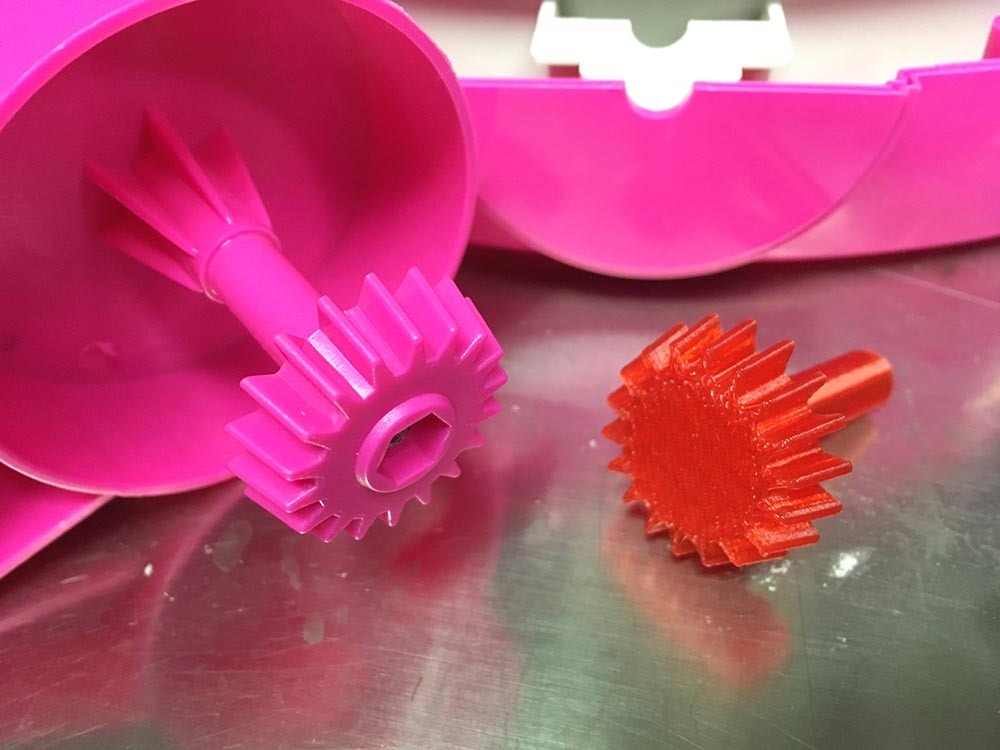
The new gear compared to the original one connected to the crank. It is almost perfect. I gained some experience drawing bevel gears during the making of my Fab Academy final project, ROTOCASTit, whose mechanism in a way resemble this one.
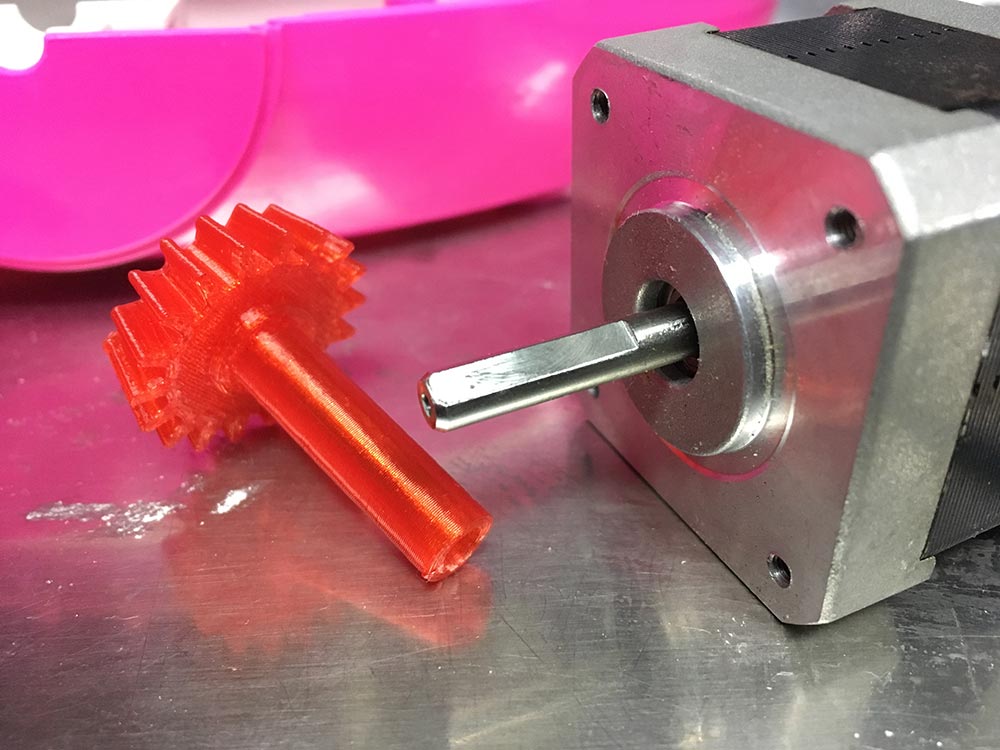
The new gear's shaft has a inner slot with a dent that fits the shaft of a common NEMA stepper motor.

The left disc is connected to the machine with two M3 bolts (I needed to cut two corresponding holes on the machine body). The right disc is connected to the motor and it can be slipped into the first.
I couldn't get a good print at first, cause it was very cold in the lab and the first layer would cool down very quicly and lift its edges from the bed (i don't have heated bed on the Makerbot...)
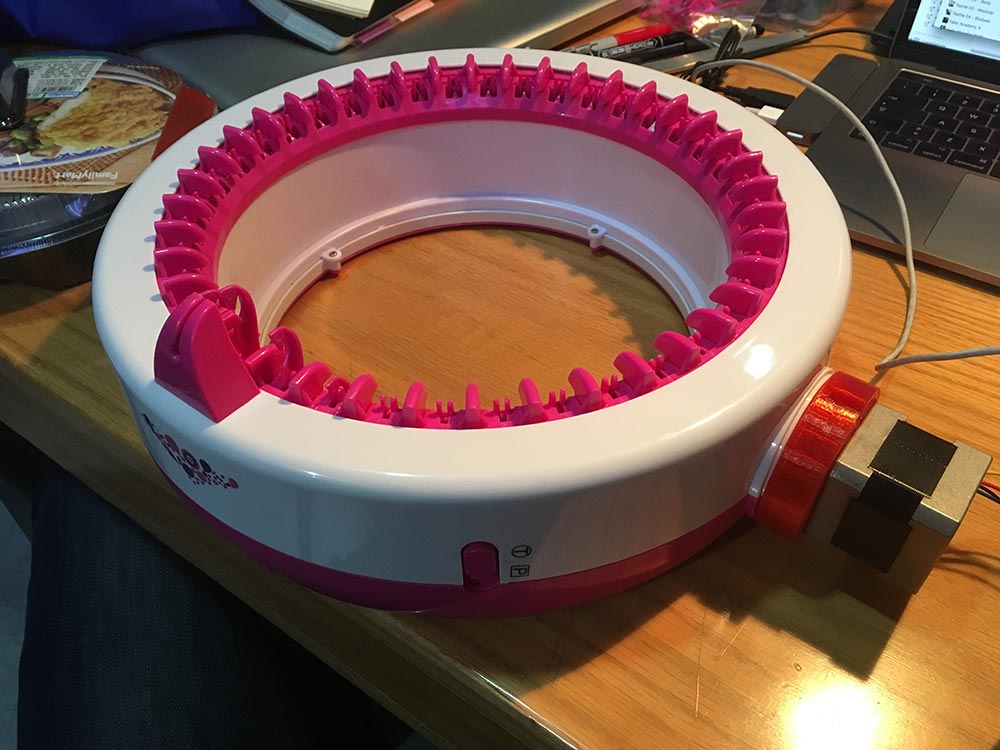
The machine reassembled and ready to be tested with electronics
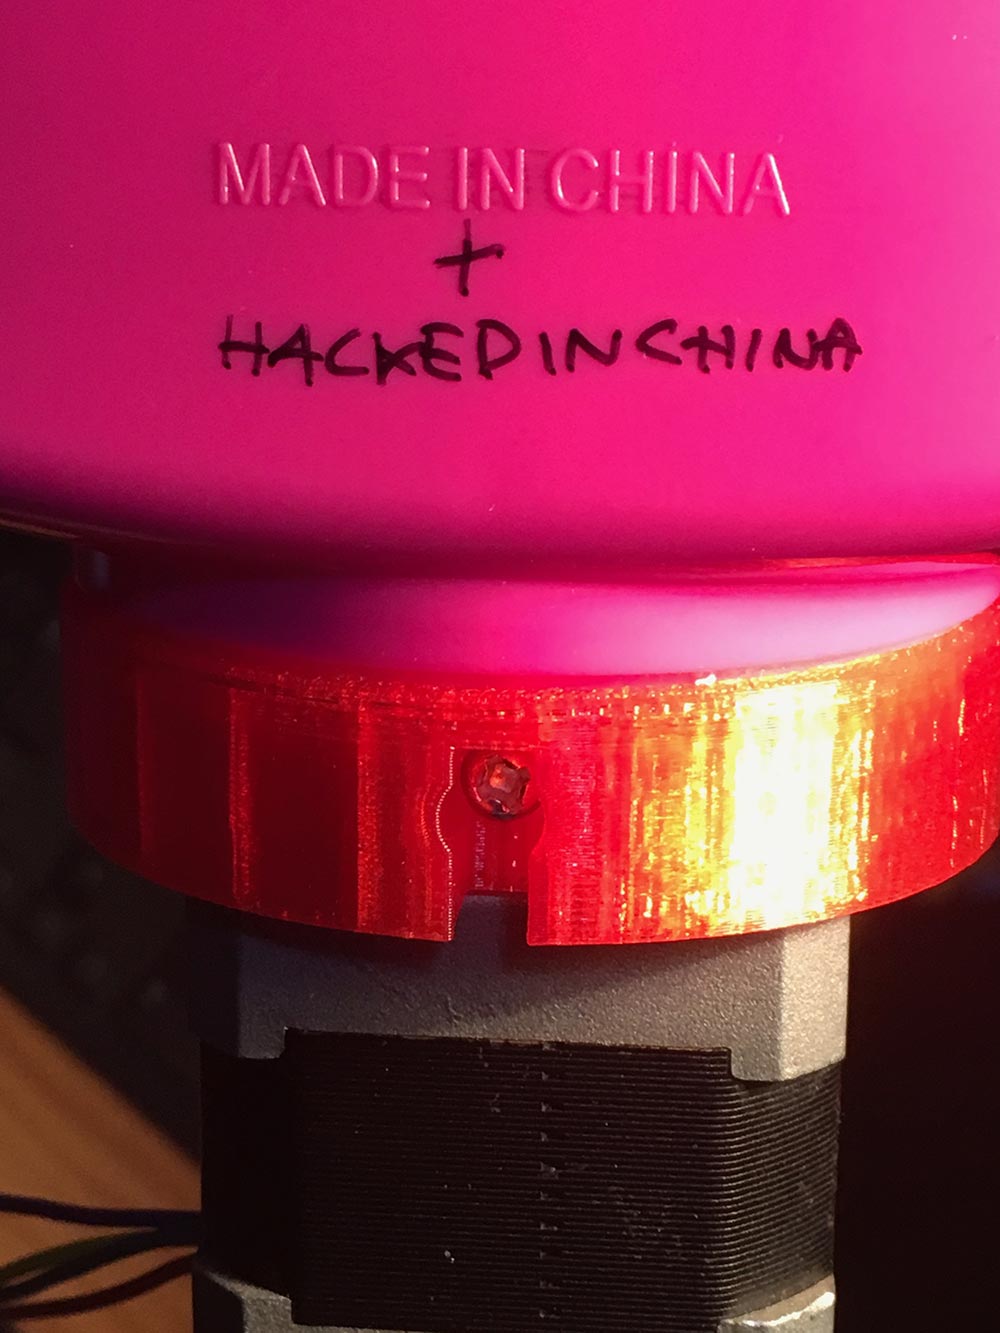
Proudly made and hacked in China!
Refining the electronic
I designed and milled a very simple shield with an A4988 stepper driver housing, motor cable connector, a potentiometer and a plug for the external 12V power supply. It can be connected to any Arduino, but here I am using a Shanghaino. Just connect the motor and plugs and turn the potentiometer to change the speed of the machine.
This is the code I'm using, based on the stepper-speed-control example in the stepper library, with minor modifications (I added a "maxspeed" constant that can be set):
/*

Knitting Machine motor control
Upload this sketch to an arduino and use it to change the speed
of the a stepper motor.
The circular knitting machine modified for Textile Academy 2017 by Saverio Silli in Shanghai
use a Shanghaino board and a simple stepper driver shield with a potentiometer.

The motor is attached to digital pins 8 - 9 of the Arduino.
A potentiometer is connected to analog input 0.

 "The motor will rotate in a clockwise direction. The higher the potentiometer value,
 the faster the motor speed. Because setSpeed() sets the delay between steps,
 you may notice the motor is less responsive to changes in the sensor value at
 low speeds."

 Based on:

 Stepper Motor Control - speed control

 Created 30 Nov. 2009
 Modified 28 Oct 2010
 by Tom Igoe

 */

#include <Stepper.h>

const int stepsPerRevolution = 200;  // change this to fit the number of steps per revolution
// for your motor
const int maxspeed = 400; //maximum speed of the motor

// initialize the stepper library on pins 8 through 11:
Stepper myStepper(stepsPerRevolution, 8, 9, 10, 11);

int stepCount = 0;  // number of steps the motor has taken

void setup() {
  // nothing to do inside the setup
}

void loop() {
  // read the sensor value:
  int sensorReading = analogRead(A0);
  // map it to a range from 0 to maxspeed (you can increase the maximum speed):
  int motorSpeed = map(sensorReading, 0, 1023, 0, maxspeed);
  // set the motor speed:
  if (motorSpeed > 0) {
    myStepper.setSpeed(motorSpeed);
    // step 1/100 of a revolution:
    myStepper.step(stepsPerRevolution / 100);
  }
}

The second hat I made, this time using the motor!
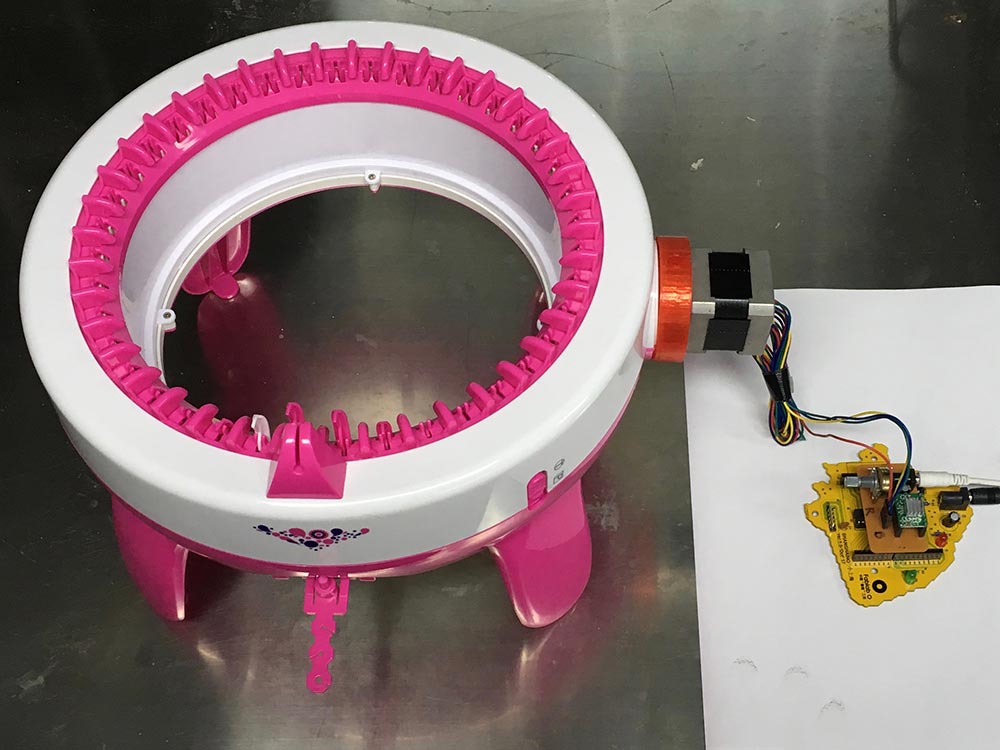
The machine and the shanghaino control
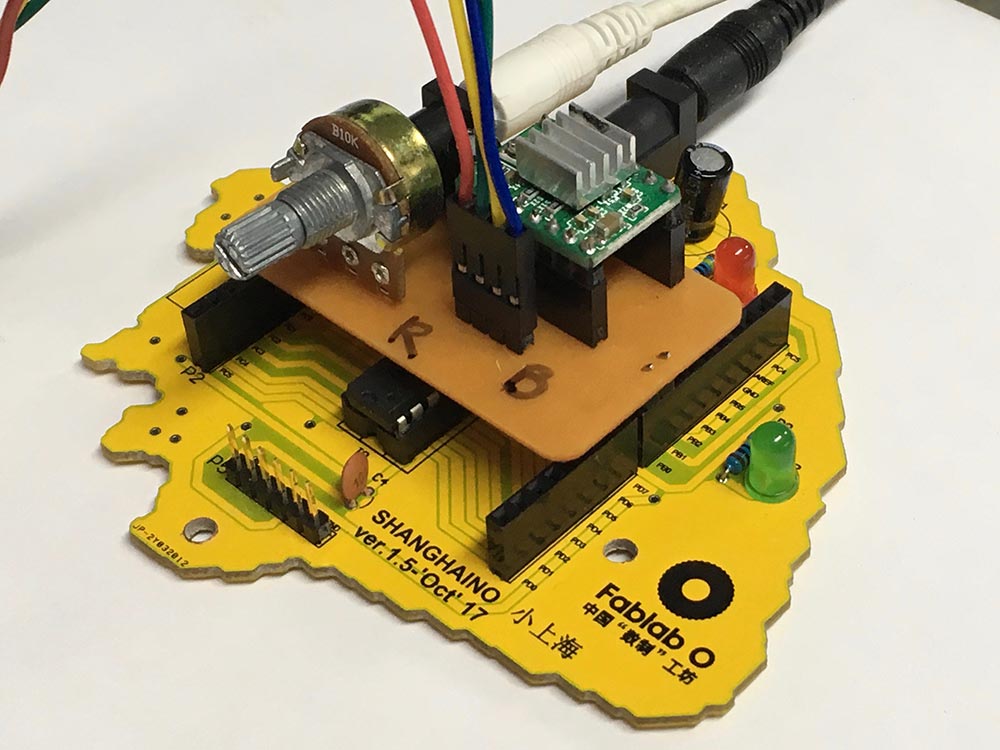
Shanghaino and stepper speed control shield

The electronic comoponents
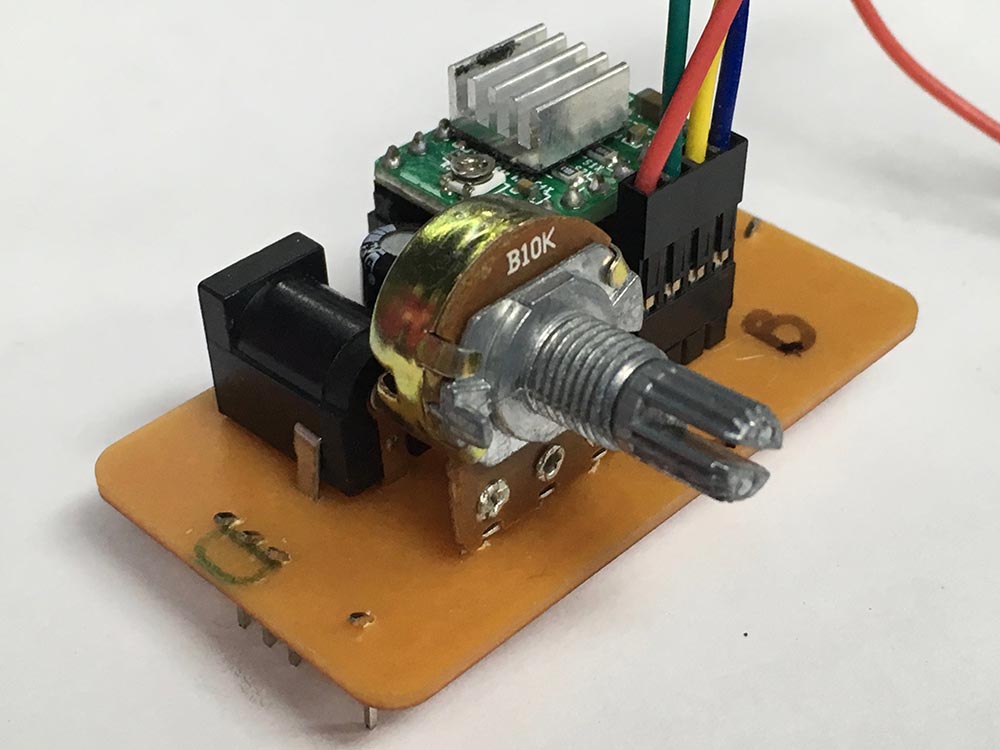
The stepper speed shield

The stepper speed shield

Stepper speed shield traces
Files Storage
This website by Saverio Silli (based on Twitter Bootstrap) and all its content is licensed under the following license: CC Attribution-Share Alike 4.0 International.