Soft Robotics
Class eleven - 5 December 2017
Soft Gripper
The work I did for this assignment was very interesting. I have an extended knowledge of silicone rubber and mold making, but being the first time using silicone as the final material for the product, instead as for the medium for mold making, was very challenging. I had to explore and learn behaviors of the silicone rubber I never had to deal with before.
I started with the instruction found on this tutorial on Instructables. I basically 3D printed a mold, then filled it with silicone rubber to make one half of the gripper. Meanwhile I made the second half, which is a flat cover for the first one, but it has some "inextensible" material encapsulated in the silicone (simple burlap fabric cut to shape).
Once cured, the two halves need to be connected together using more silicone rubber. Remember: silicone rubber doesn't stick to ANY material once it is cured (that's why it is so widely used for mold making) BUT it will stick to cured silicon rubber. It basically only sticks to itself. There is a downside, the cured part should be newly made and clean. If it had been in contact with air, powder, liquids or so on, the new silicone you are applying to it might not stick very well.
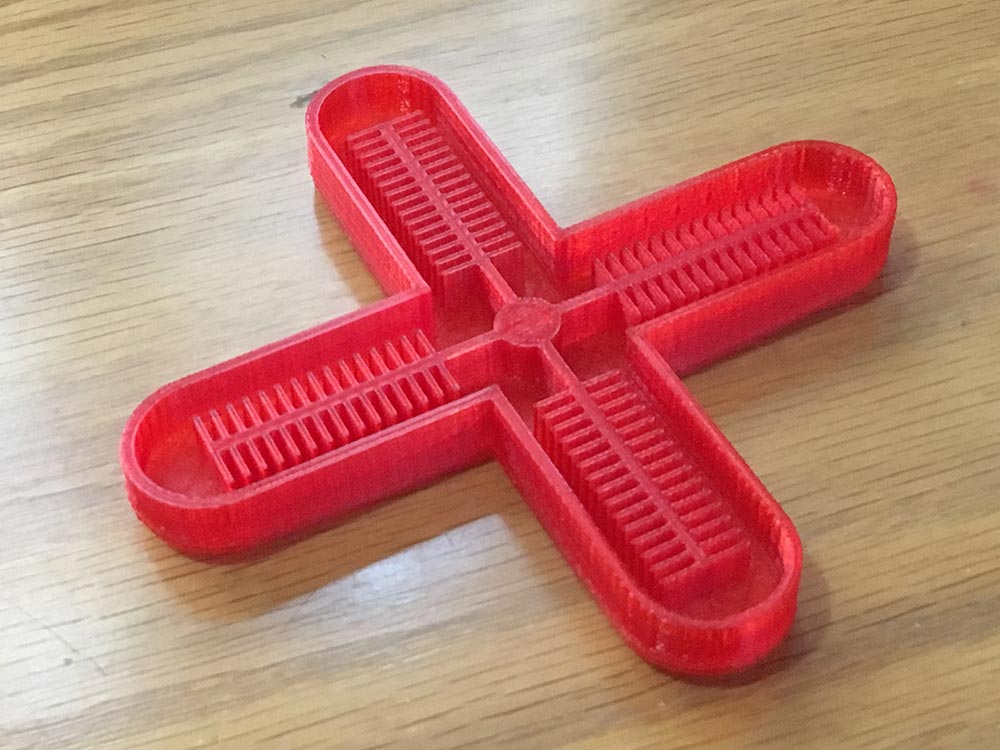
Printed on a Makerbot Replicator+
Some considerations
The space between the walls in this model is so tiny that some air bubbles might get trapped. If this happens the gripper won't work properly and you might end up with air leaks when applying pressurized air. Make sure you pour the rubber slowly, using a toothpick to spread it into the mold moving out air bubbles. The rubber should be very liquid and if it is transparent it will helkp you see the bubbles. That's why Ecoflex from Smooth-On is a good choice (also for its low shore value). The rubber I used is a local found one, white and with too high shore (I'd say between 30 and 50) and it was overall a huge problem for my exarcise: the completed gripper needed too much pressure to inflate, causing leaking. I had to modify the connection in order to make it super-strong and that caused the gripper to just explode every time the limit was reached. With a good connection you can get to very high klevel of pressure, as I did, but it is just not convenient.
USE THE RIGHT MATERIAL IN THE FIRST PLACE AND SAVE YOU LOT OF FIXINGS LATER.
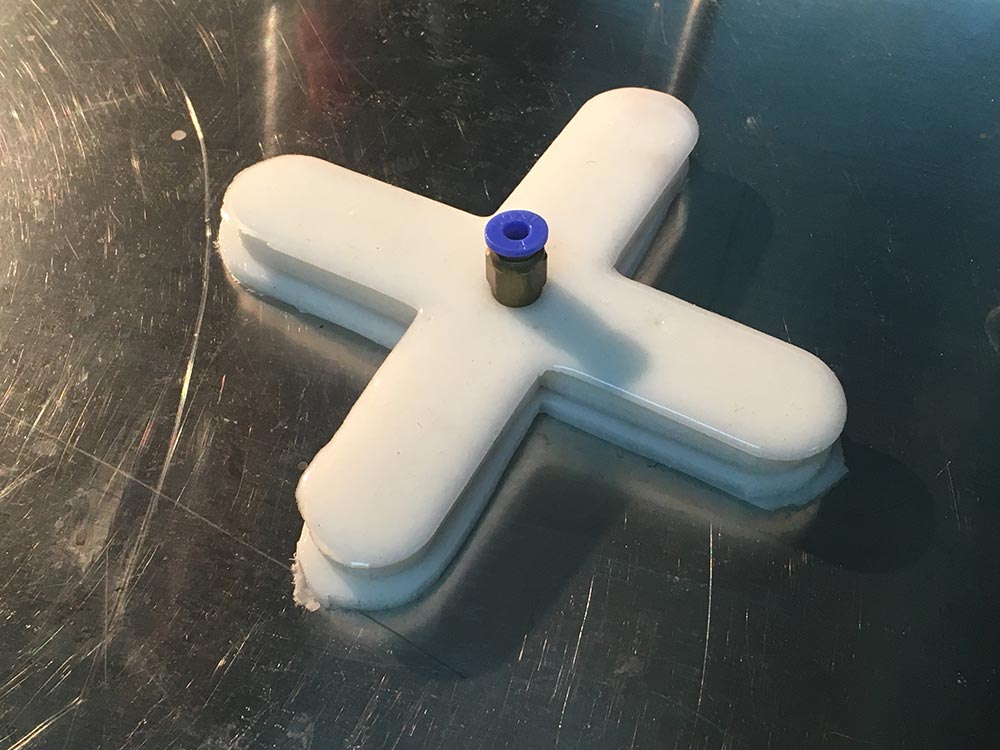
The gripper showing the first connection style

The two halves before being glued together (notice the darker color from the encapsulated burlap layer)
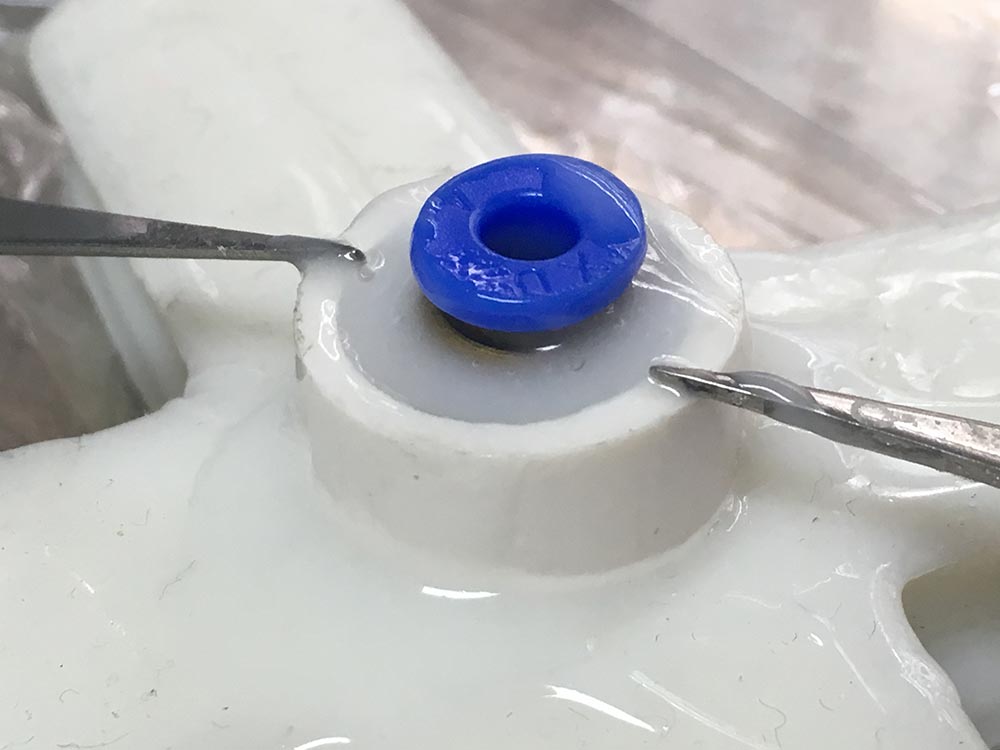
After the first failed tests I modified the connection adding a rim of silicone rubber. I used a plastic tube section to create the wall to contain the new rubber.
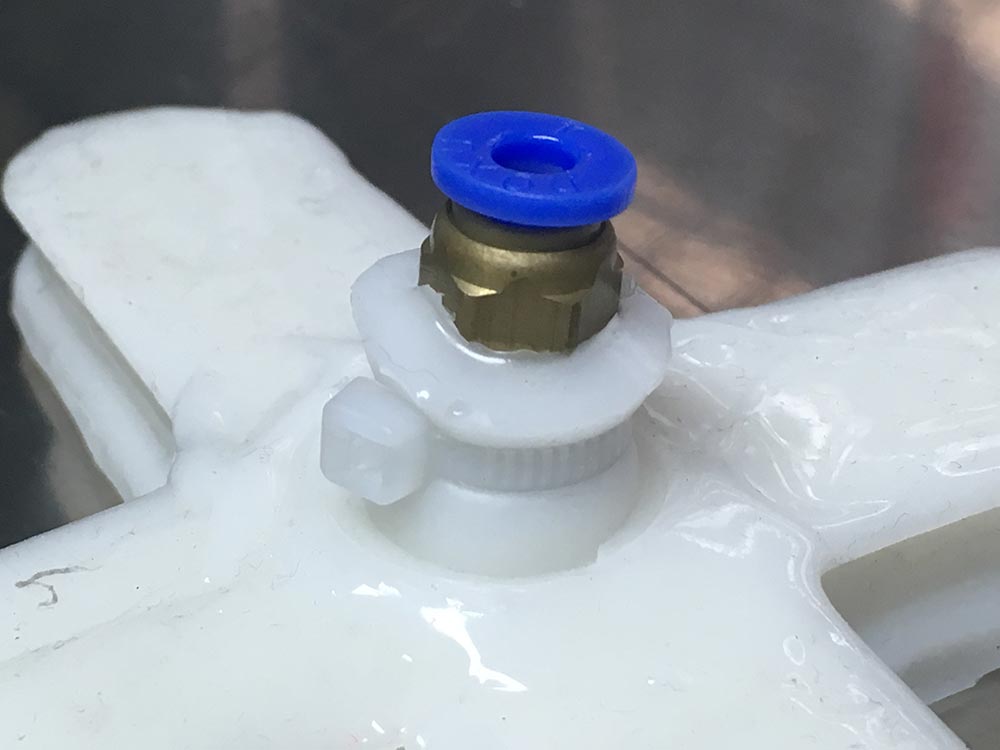
The second style of connection uses a ziptie to lock the metal connector inside the new rubber rim
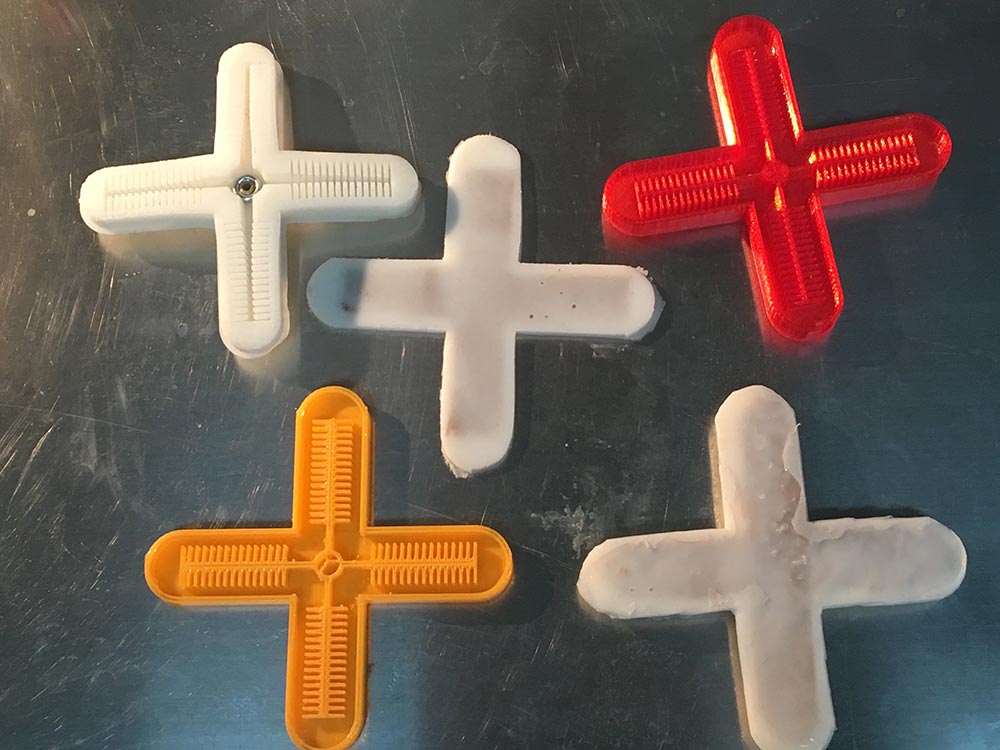
A picture of all the parts I made, the first 3D printed mold didn't print well, while the first silicon gripper was too full of air bubbles and it leaked everywhere.
Animation of the soft gripper
Silicone gripper test
Air muscles
After the silicone gripper, I wanted to try and make some air muscles, because I think that they are SUPERCOOL. Thanks to the help from Simon who had previous experience with air muscles, I could find the right materials on Taobao:
When pressure is applied to the muscle, it will expand and retract. Retraction amount will vary based on the amount of pressure applied and the thickness of the tubing. In my case I was able to achieve a retraction of 62mm on a 245mm long muscle. Diameter is about half an inch or 12mm.
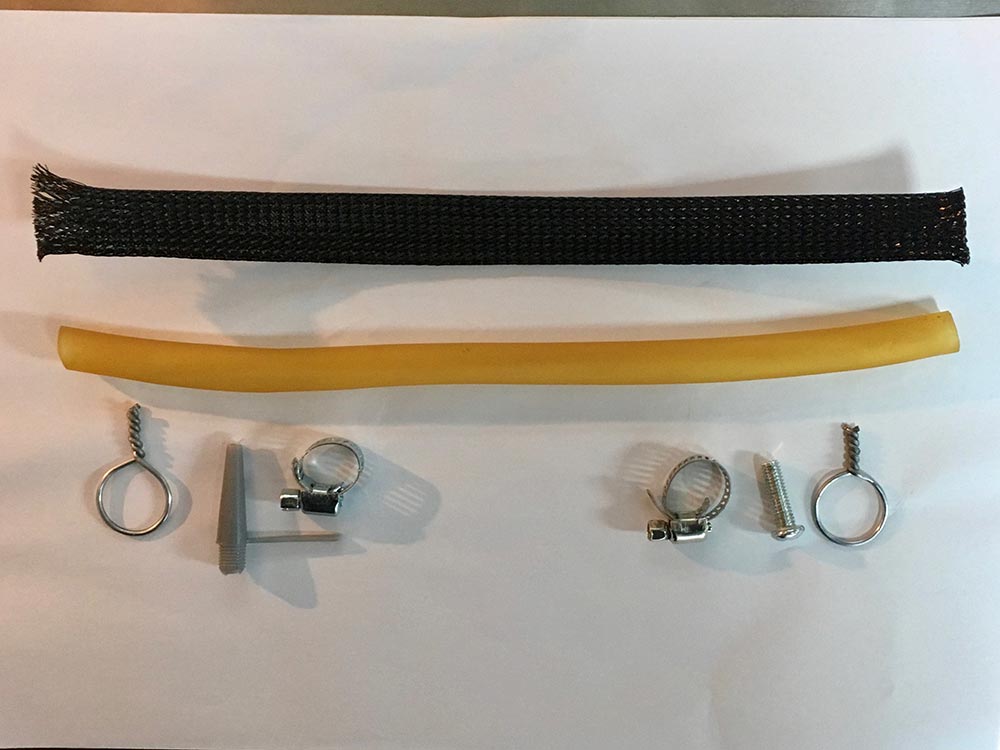
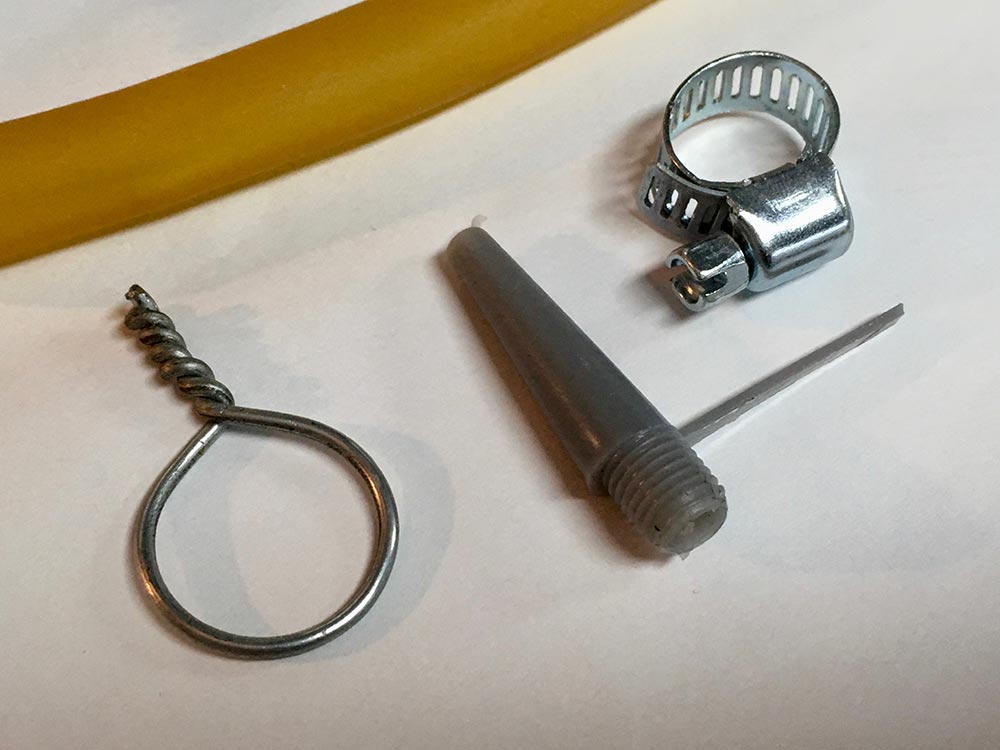
Overview of the components
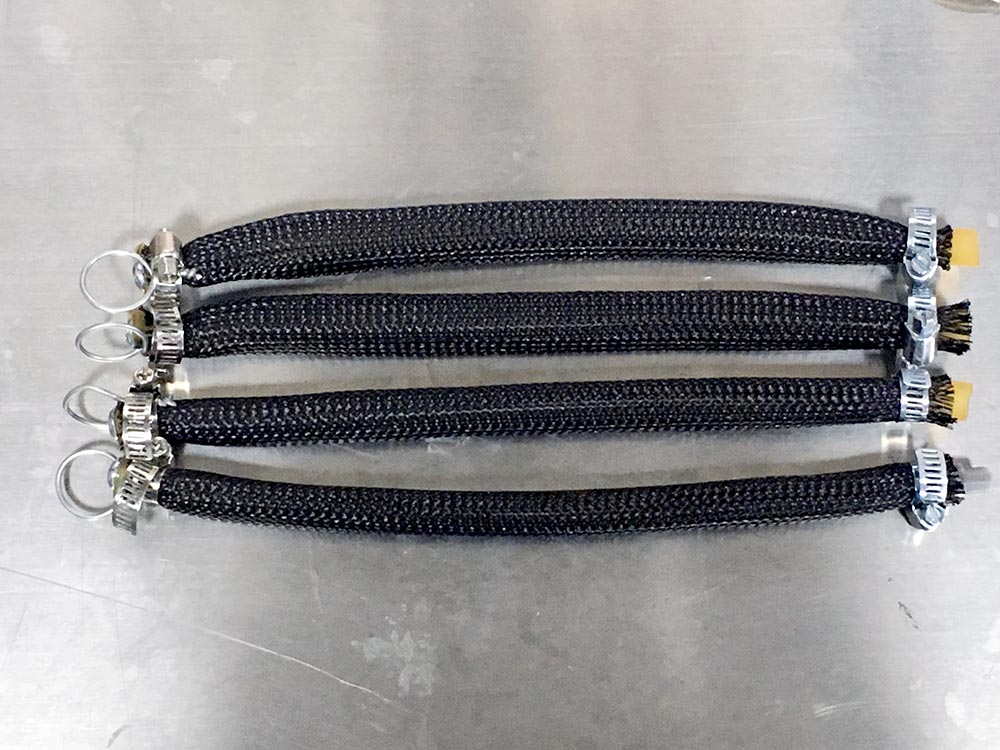
I made a total of four air muscles
Closed side components
Open side components

Detail of the inflated muscle
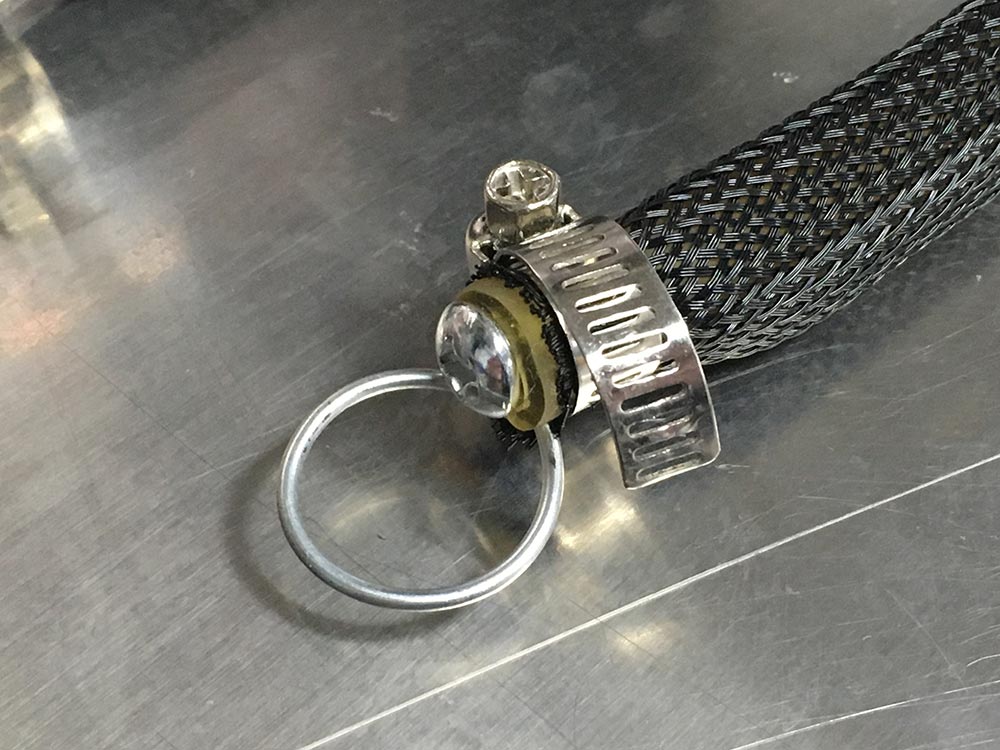
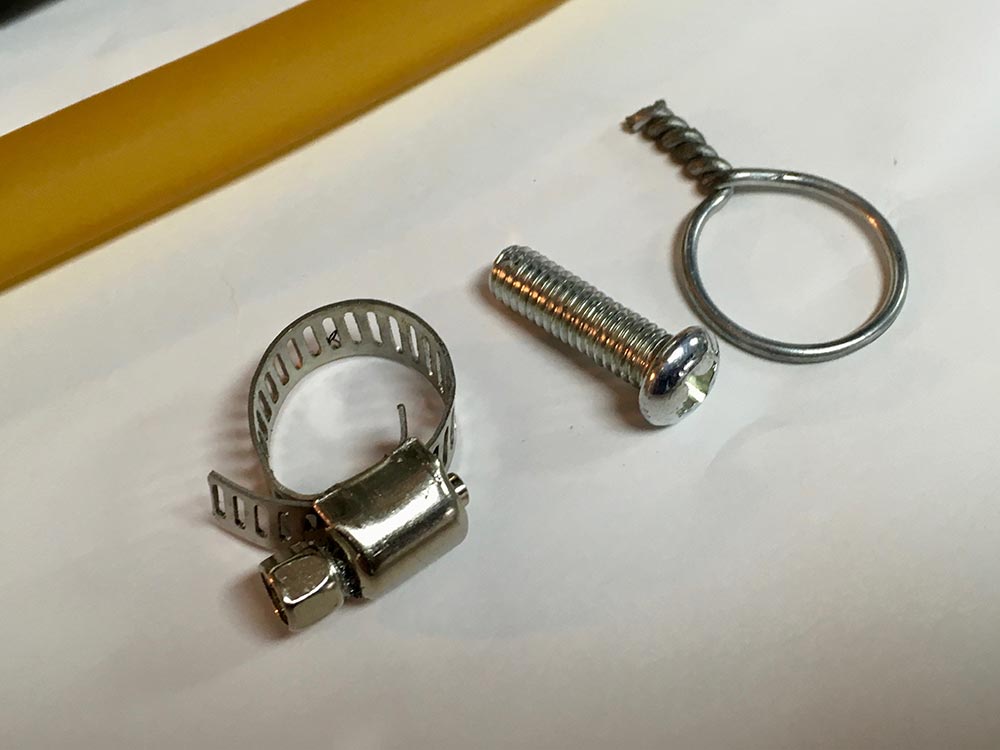
Connection ring on the closed side
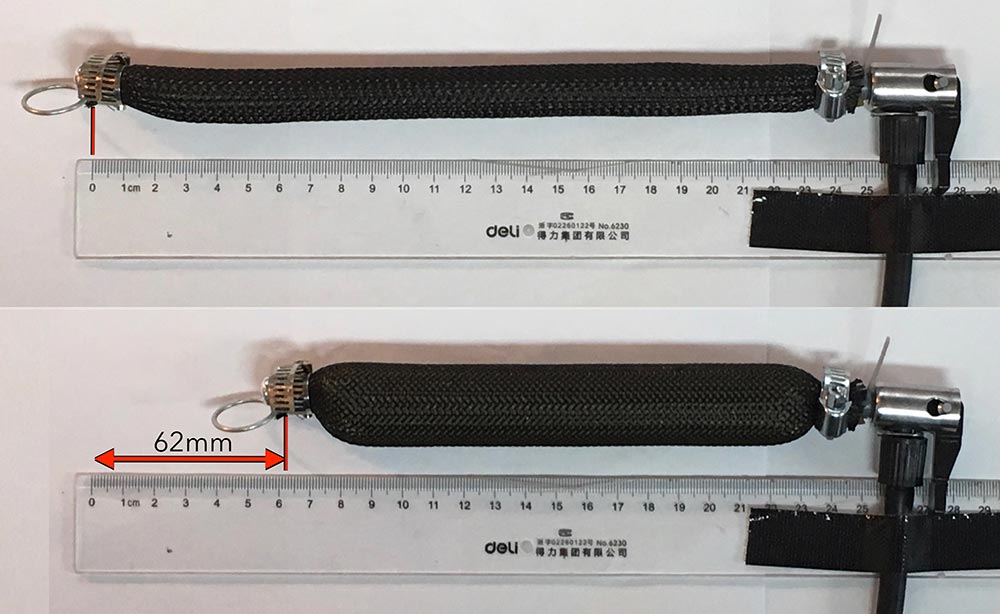
Retraction and expansion analysis
Air muscles actuation test
Soft robots FAIL COMPILATION
Overall, the assignments required a lot of work to be completed, but it was also A LOT OF FUN. I especially enjoyed testing the robots, having used such a high-shored rubber forced me to use high pressure which resulted in a lot of explosions, poppings and cute sounds you don't like to make in public. But it also allowed me to have fun trying to find a solution and make it work. The following video is just for fun, showing a collection of fails while testing.
Files Storage
This website by Saverio Silli (based on Twitter Bootstrap) and all its content is licensed under the following license: CC Attribution-Share Alike 4.0 International.